How It Works

Our solution consists of an Augmented Reality web application for mobile devices and a browser based platform called ‘the Arficio Platform’. The working of both components is explained below.

The Arficio Platform (platform.arficio.com) is used by businesses to upload and manage 3D models of their products. Once a 3D model is uploaded, a QR code or link can be retrieved to let your customers view your 3D model in augmented reality.

When your customer scans a QR code and clicks on a link on a mobile device, he is redirected to the Augmented Reality web application to view the scanned product in Augmented Reality.

The Arficio Platform - to create Ar experiences

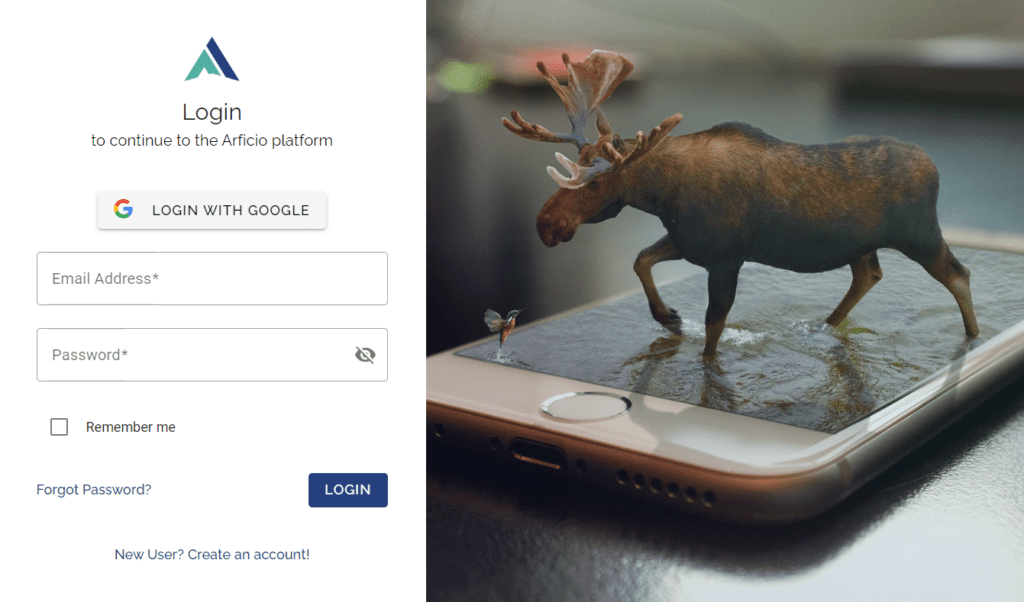
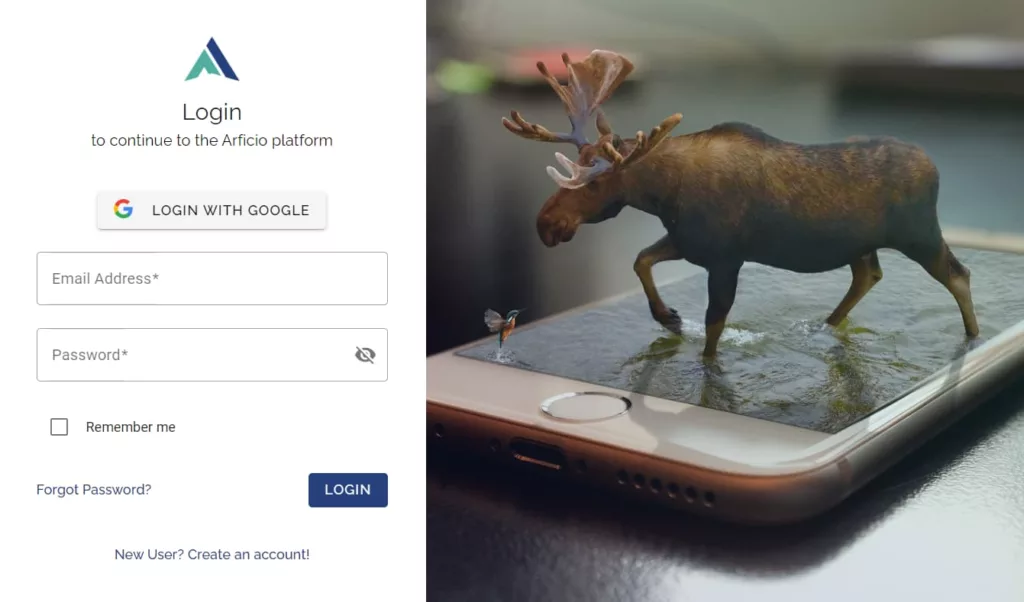
Step 1: Create an account

Create a free account on platform.arficio.com

Stick with the free version, or select a premium subscription. View our pricing for our subscription packages.

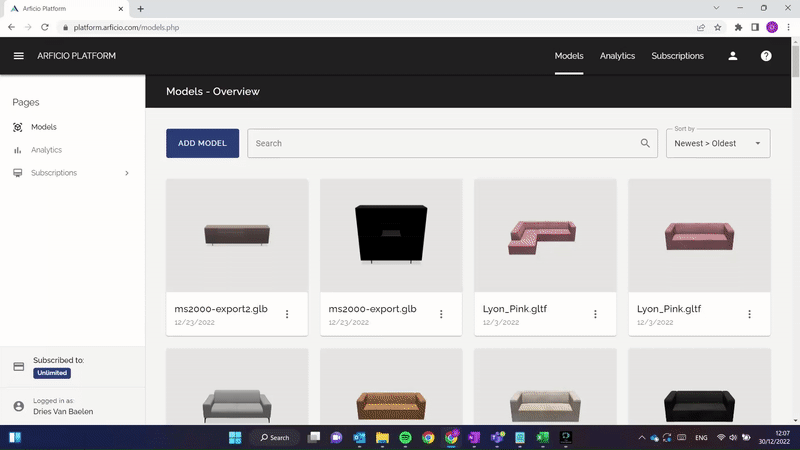
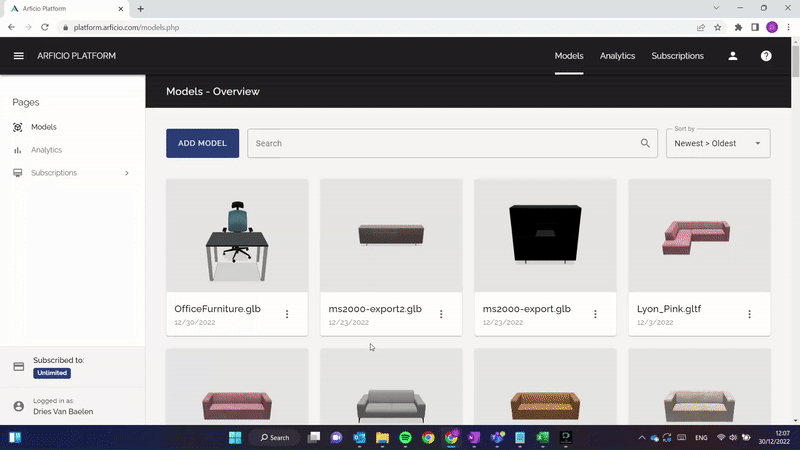
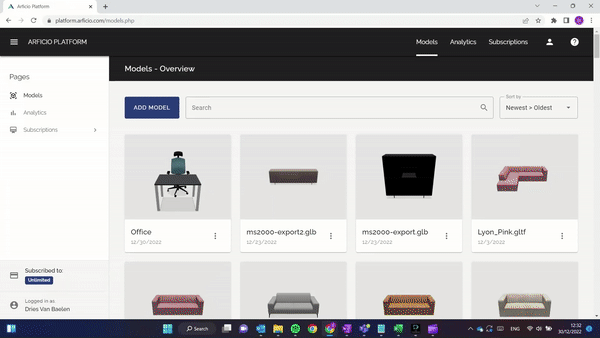
Step 2: Import your 3D models in the Arficio platform

On the Models page, click on the ADD MODEL tile or blue button and upload one or multiple 3D models. We support the most popular 3D formats, including GLTF, GLB, OBJ, FBX or DAE. We also support  .zip, .7z, .rar or .tar files containing materials and textures. (Make sure you’ve exported the 3D model files from your preferred 3D modelling tool prior to this step!)


Don’t have a 3D model yet? Ask us to create them for you here or 3D-scan objects with your phone using our platform.

Click on a 3D model on the models page and go to the ‘View in AR’ section. Copy the QR code or link and share them with your customers via mail, brochures, offers, invoices or on your website. We also allow you to embed a 3D Product Viewer on your website, complete with dimensions, configurations and AR capabilities.


When your customer scans the QR code or clicks on the link on a mobile device, the AR web application will open automatically to view the 3D model.

Step 4: Manage and analyze your content

On the models page, you can rename or delete a model and adjust the advanced AR settings.


On the analytics page, you can see various statistics on the usage of your 3D models.


On the company page under your profile, you can invite team members to collaborate on your account and you can add your company logo to show inside the QR codes and loading page. You can also adjust the advanced AR settings to customize your user’s AR experience.

To better understand the workings of the Arficio Platform, you can also take the tour by clicking on the question mark in the top right corner on the platform.

The Augmented Reality web application - to view in ar

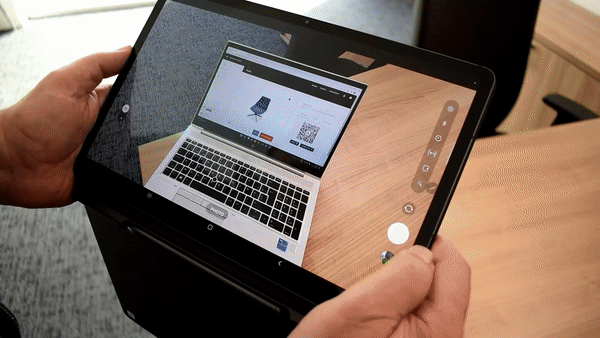
Step 1: Scan QR code

Your customers will scan the QR code in the camera app or click on the link that you have provided them on a mobile device after which the AR web application will open automatically in the browser to view the 3D model.

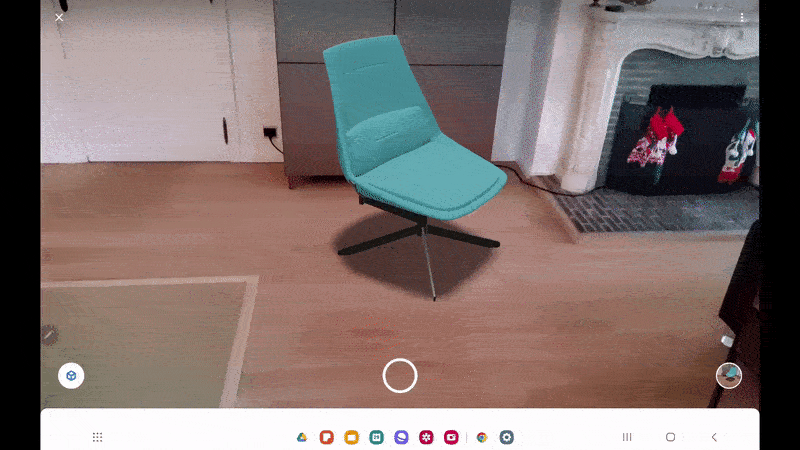
Step 2: Preview the 3D model

In the web application, customers can first preview and rotate the 3D model before placing it in AR.

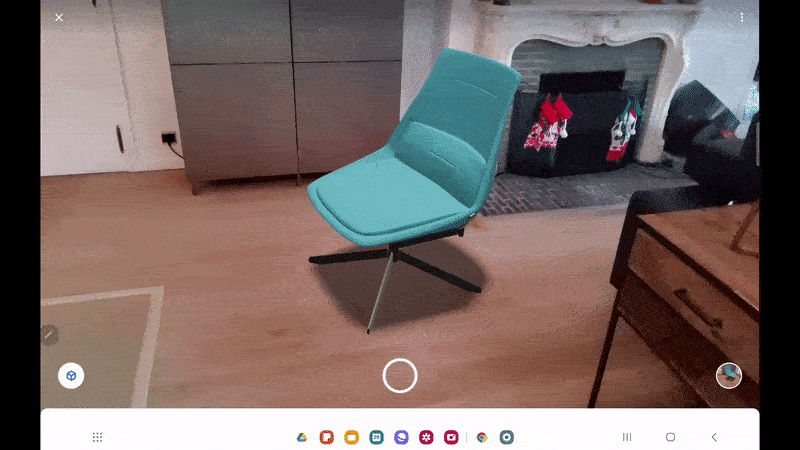
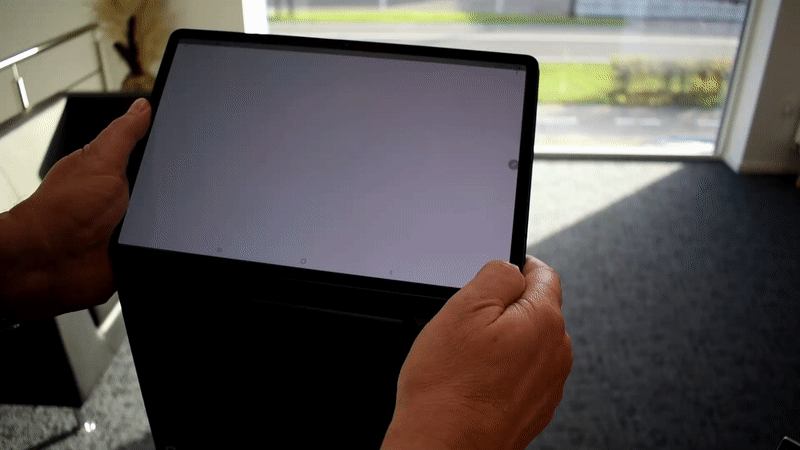
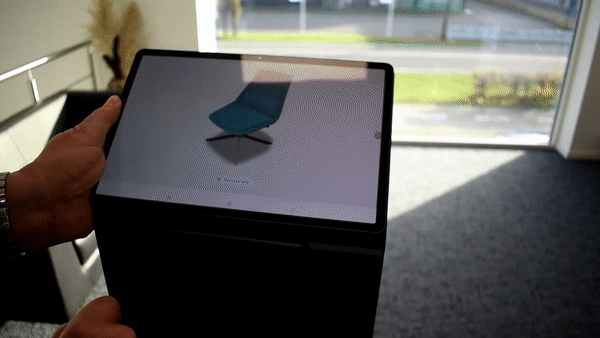
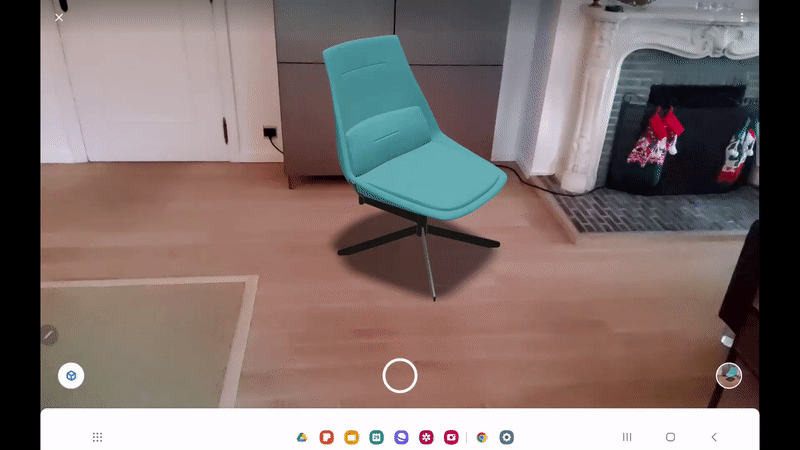
Step 3: Place 3D model in AR

Click on the ‘View in your space’ button to place the 3D model in AR in your room. Point the camera to the surface that you want to place the 3D model on and scan the surface by moving the camera around. Once the 3D model is placed, you can use one finger to move the model and two fingers to rotate it.

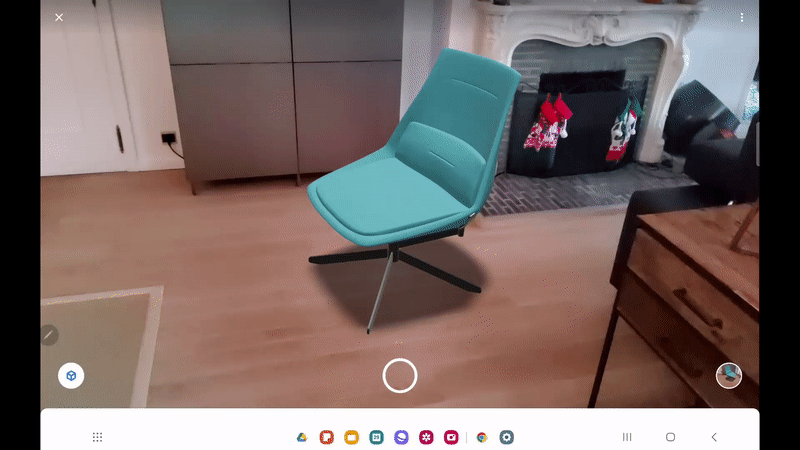
Step 4: Take a picture

Once you’re happy with the placement of the model, you can choose to take a picture of it by using the button in the bottom of your screen.

Step 5: Exit the web app

Exit the web application by clicking the cross in the top corner.

Create a free account on platform.arficio.com

Stick with the free version, or select a premium subscription. View our pricing for our subscription packages.

Export 3D models from your 3D software program in GLTF, GLB, OBJ, FBX or DAE.

Only 3D files in these formats are currently supported in the Arficio Platform. More formats will be supported in the future.

On the Models page, click on the ADD MODEL tile or blue button and upload your 3D models in one of the supported formats (GLTF, GLB, OBJ, FBX or DAE).

Click on a 3D model on the models page and go to the ‘View in AR’ section. Copy the QR code or link and share them to let your customers view your 3D models in AR. Click the button on your handheld device to preview the model in AR. You could also let your web developers create a button with our provided link on your website to facilitate the use for mobile users.


Use the QR code or link in your mails, offers or invoices to your customers. Or copy them on your existing marketing means like your website or brochure.


When your customer scans the QR code or clicks on the link on a mobile device, the AR web application will open automatically to view the 3D model.

On the models page, you can rename or delete a model and adjust the advanced AR settings.


On the analytics page, you can see various statistics on the usage of your 3D models.


On the company page under your profile, you can invite team members to collaborate on your account and you can add your company logo to show inside the QR codes and loading page. You can also adjust the advanced AR settings to customize your user’s AR experience.

Your customers will scan the QR code in the camera app or click on the link that you have provided them on a mobile device after which the AR web application will open automatically in the browser to view the 3D model.

In the web application, customers can first preview and rotate the 3D model before placing it in AR.

Click on the cube icon to place the 3D model in AR in your room. Point the camera to the the surface that you want to place the 3D model on and scan the surface by moving around the camera. Once the 3D model is placed, you can use one finger to move the model and two fingers to rotate it.

Once you’re happy with the placement of the model, you can choose to take a picture of it by using the button in the bottom of your screen.

Exit the web application by clicking the cross in the top corner.